
Create, edit or delete forwards with Email Forwarding
Email forwarding credits that were bundled with domain purchases can no longer be used following the retirement of Workspace Email. However, if you own existing forwarding credits, you can use our Email Forwarding product to create email addresses that automatically redirect messages to different accounts.
Note: This article is only for forwarding addresses created with Email Forwarding. This product is independent of our other email products. (If you're unsure if you have this product, check your My Products page.) Find out about your forwarding options for Professional Email and Microsoft 365.
Select a tab based on what you’d like to do with a forward:
- Sign in to your Email & Office Dashboard (use your 123 Reg username and password).
- On the leftmost side, select Forwards.
- Select Add Forward.
- Enter a name for the forwarding address. This must be unique from any existing email addresses or forwards you’ve already created.
- Enter the email address(es) you want to forward to, and then select Save.
Your new forwarding address will be listed on the Email Forwards page with the email address(es) it forwards to.
- Sign in to your Email & Office Dashboard (use your 123 Reg username and password).
- On the leftmost side, select Forwards.
- Next to a forwarding email address, open the
 menu, and then select Edit.
 - Edit or add any addresses that you want to forward email to (use commas to separate each).
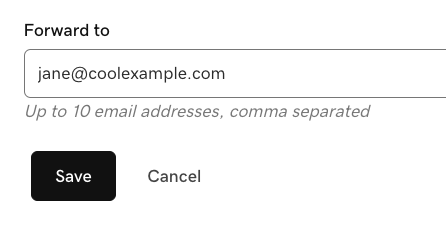
- When you're done, select Save.
You'll see the updates reflected on the Email Forwards page.
- Sign in to your Email & Office Dashboard (use your 123 Reg username and password).
- On the leftmost side, select Forwards.
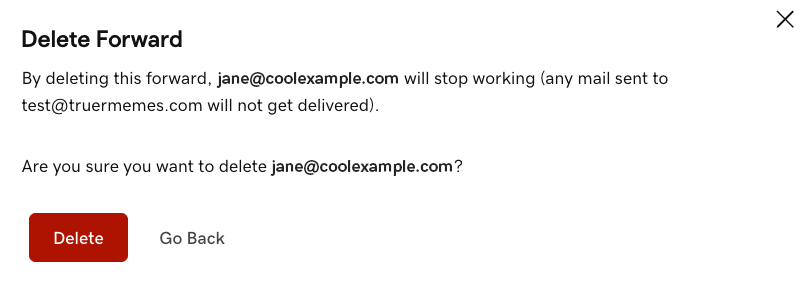
- Next to a forwarding email address, open the menu, and then select Delete.
- Make sure you're deleting the correct forwarding email address, and then select Delete.
Return to the Email forwards page to create, edit or delete email forwarding addresses.