
Enable and add DKIM to my domain for Microsoft 365
Adding DomainKeys Identified Mail (or DKIM) to your DNS settings signs your emails so that anything sent from your organization is trusted by receiving email systems. It's another way to tell your recipients that it's really you sending the messages, and not someone impersonating you. You'll need to create DKIM keys, add the records to your DNS and then enable it.
Step 1: Create your DKIM keys
First, we'll access your Defender Portal to generate your DKIM keys.
- Sign in to the Microsoft 365 Defender Portal. Use your Microsoft 365 email address and password (your 123 Reg username and password won't work here).
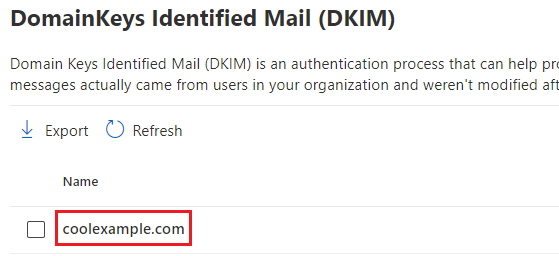
- Under DomainKeys Identified Mail (DKIM), select your domain name. (Make sure to select the domain name itself, and not the checkbox next to it.) A window will open on the rightmost side.
- Select Create DKIM keys. The keys will be generated as CNAME records.
- Select Copy. The hostname and value of both records will be copied to your clipboard. You'll need the records in the next step, so we recommend pasting them into another document.
Step 2: Add the records to your DNS
Next, we'll add your keys to your DNS as CNAME records. These steps are for domains with DNS managed at 123 Reg. If your domain is not with 123 Reg, you'll need to update your records with your DNS provider.
- In your web browser, open a new tab.
- Sign in to your 123 Reg Domain Portfolio. (Need help logging in? Find your username or password.)
- Under Domain Name, select your domain.
- Under your domain name, select DNS.
- Select Add New Record, and then enter the details of your first record:
- Type: Select CNAME.
- Name: Using the first key that you generated in step 1, enter the hostname.
- Value: Using the first key that you generated in step 1, enter the value.
- TTL: Leave it as Default.
- Select Add More Records.
- Repeat the steps to add your second CNAME record.
- Select Save All Records.
Both records will be saved to your DNS. Most DNS changes take effect within an hour but could take up to 48 hours to update globally.
Step 3: Enable DKIM
Lastly, we'll go back to the Defender Portal to enable DKIM for your organization.
- Sign in to the Microsoft 365 Defender Portal. Use your Microsoft 365 email address and password (your 123 Reg username and password won't work here).
- Under DomainKeys Identified Mail (DKIM), select your domain name. A window will open on the rightmost side.
- Turn on the Sign messages for this domain with DKIM signatures toggle. Your changes will save.
- Select OK.
If the DKIM records that you added were detected, the toggle will be enabled and your DKIM will be set up.
If your DKIM records were not detected and you see an error, double-check that you entered the CNAME records correctly. Allow up to 48 hours for your records to fully propagate.
Related steps
- Edit a CNAME record
- Add an SPF record to my domain for my email
- Add a DMARC record to my domain for Microsoft 365