How do I add my Webmail or Outlook calendar to Mozilla Thunderbird?
This article will show you how to add your Webmail or Outlook calendar to Thunderbird
Adding your calendar to Thunderbird can be a great way of managing all your events from one place. So, whether you want to upload your webmail calendar or add an Outlook calendar to Thunderbird, simply follow the instructions outlined below.
If you need to set up your mailbox with Thunderbird, please read the following article: How do I add my mailbox to a third-party email client?
Adding your Webmail calendar to Thunderbird
-
Start by getting the CalDAV URL for your Webmail calendar.
You can find your unique URL by logging in to Webmail and clicking the three dots opposite your calendar name. Then, select Properties options to view the URL for your calendar.
- Next, open Mozilla Thunderbird.
-
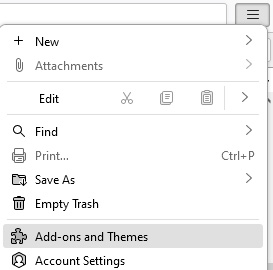
If you haven’t installed the plugin Lightning, you’ll need to do this now. Simply select the Menu icon (represented by the three bars) and then choose Add-ons from the drop-down menu.
If you’ve already installed Lightning, skip to step 7.
-
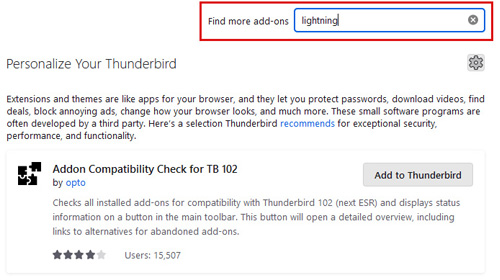
This will open the Add-ons manager, where you can search for and install various plugins for your Thunderbird client.
Search for Lightning using the top right-hand search box.
-
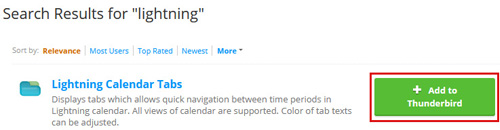
Next, select Add to Thunderbird that appears opposite the plugin.
-
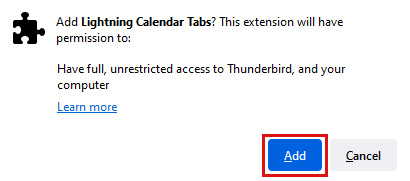
Once Lightning has finished downloading, a pop-up window will appear asking if you want to add the extension to Thunderbird. Click Add and then restart Thunderbird.
-
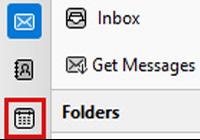
After reopening Thunderbird, select the Calendar icon in the top left-hand menu.
-
This will open the Calendar tab. From here, click the + icon opposite Calendar.

-
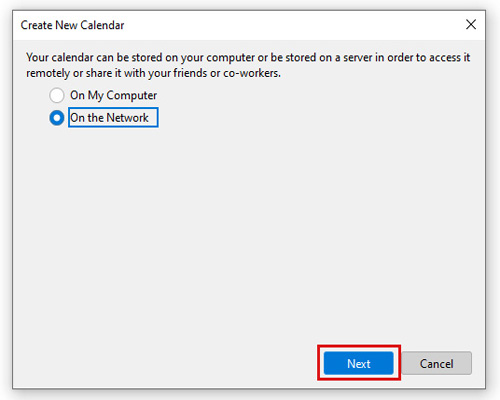
This will open a pop-up window in which you can create a new calendar. Select the option On the Network and click Next.
-
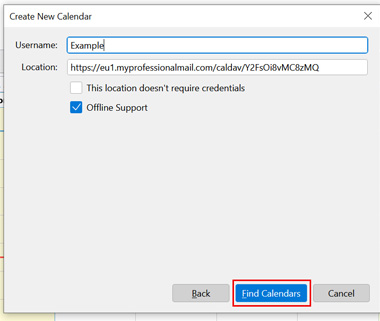
On the next page, enter the following details:
- Username: your desired name
- Location: your CalDAV URL
You can find your CalDAV URL by accessing your Webmail and selecting Calendar. From there, click the three dots opposite your calendar name and then choose Properties from the provided options.
Once you’ve entered these details, click Find Calendars.
-
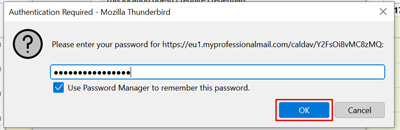
You’ll now be prompted for your mailbox password. Simply enter it into the provided field and click Sign In.
- Your calendar will now be created. Simply click Finish to complete the process.
Adding your Outlook calendar to Thunderbird
- Start by opening Outlook.
-
From there, select Calendar in the left-hand menu.

-
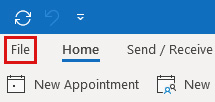
Next, click File in the toolbar.
-
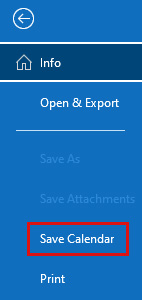
On the next page, select Save Calendar.
-
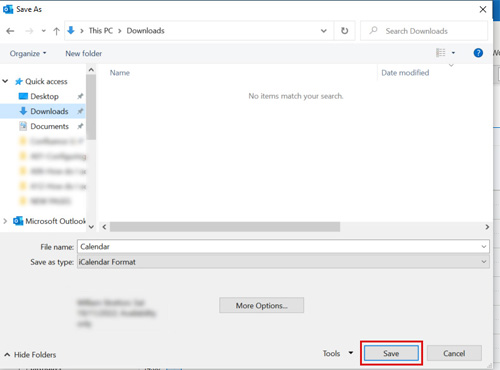
Give your file a suitable name and then save it in your preferred location on your computer.
-
A pop-up window will now appear asking if you wish to change the date range for your calendar. Click Change Dates… to amend this or select Continue to proceed.

- Next, open Mozilla Thunderbird.
-
If you haven’t installed the plugin Lightning, you’ll need to do this now. Simply select the Menu icon (represented by the three bars) and then choose Add-ons from the drop-down menu.
If you’ve already installed Lightning, skip to step 12.
-
This will open the Add-ons manager, where you can search for and install various plugins for your Thunderbird client.
Search for Lightning using the top right-hand search box.
-
Next, select Add to Thunderbird that appears opposite the plugin.
-
Once Lightning has finished downloading, a pop-up window will appear asking if you want to add the extension to Thunderbird. Click Add and then restart Thunderbird.
-
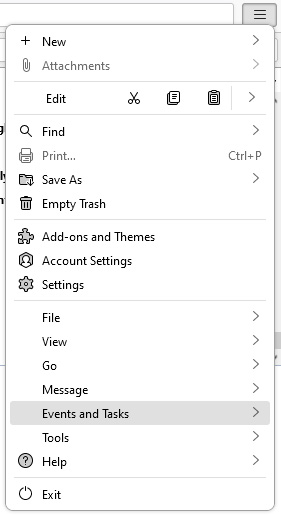
After reopening Thunderbird, select the Menu icon again and choose Events and Tasks from the provided drop-down menu.
-
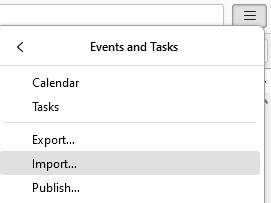
Next, select Import.
-
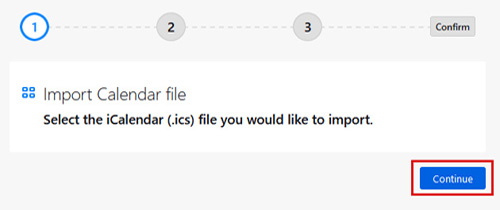
A pop-up window will now appear, asking you to select your Calendar file. Simply click Continue.
-
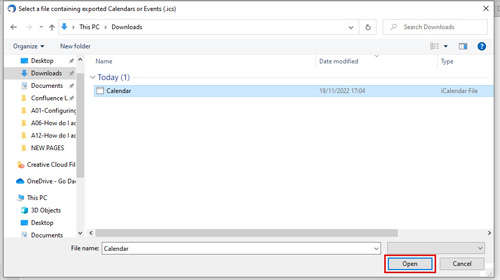
Next, find and select your Calendar file that you exported earlier. Once you’ve found it, click Open to continue.
-
Select which files you wish to import from the provided list and click Continue.

-
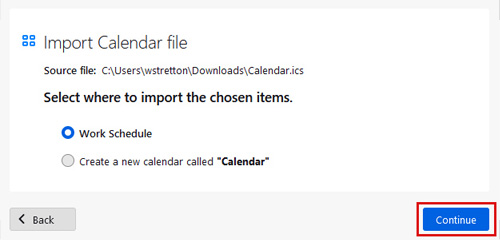
Choose where you would like to import your files and click Continue.
-
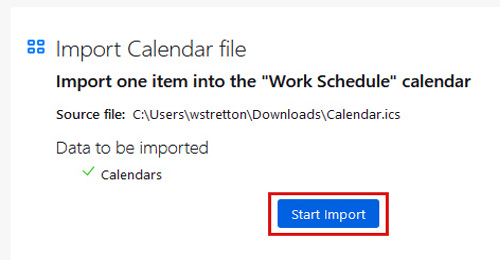
On the final slide, click Start Import to begin the process.
-
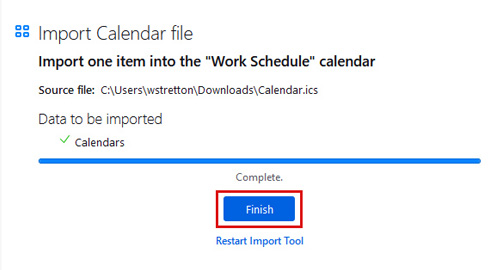
Your Outlook calendar will now start importing into Thunderbird. Once this is complete, click Finish to close the window.