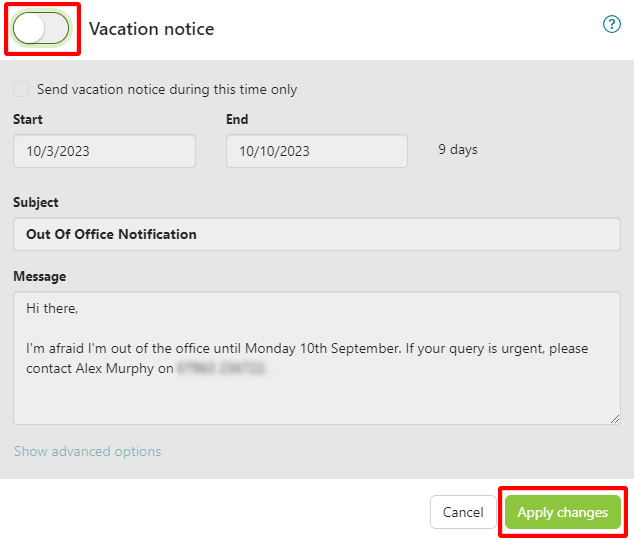
How do I manage an auto responder/out of office message?
This article will show you how to set up, edit, and delete an auto responder/out of office message for your 123 Reg Mailbox.
When you are away from your email, you can set an auto responder. This will send a custom, automated message to any emails you receive, telling the sender where you are, how to contact you, or when you are likely to be able to respond to their message.
Simply click on a title below to skip to the most appropriate FAQ. You can also click the Back to top button to return and make another selection.
- How do I set up an auto responder?
- How do I edit an auto responder?
- How do I delete an auto responder?
How do I set up an auto responder?
- Start by accessing your webmail
- Click the Settings icon in the top-right corner (represented by the gear icon) and then choose All Settings… from the provided options.

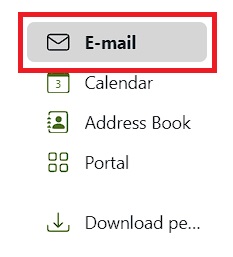
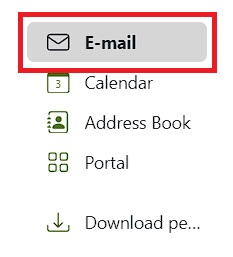
- A pop-up window will now appear. Select E-mail from the left-hand menu.
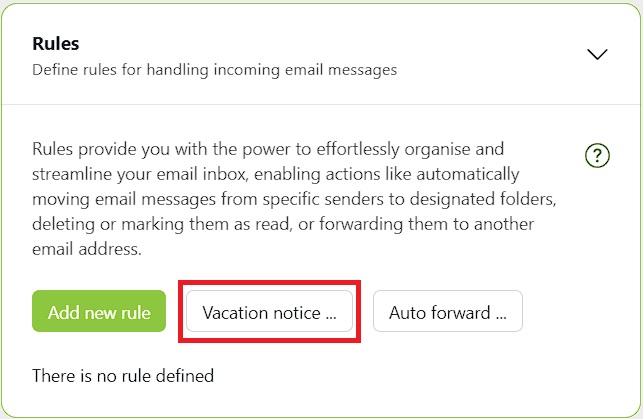
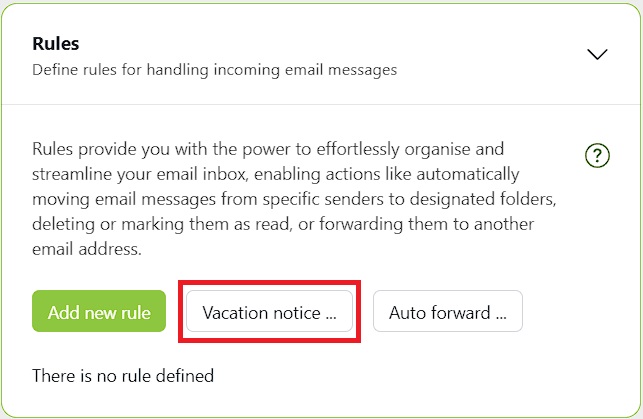
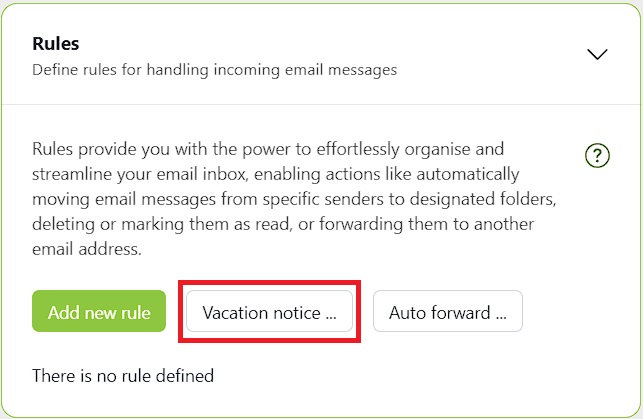
- Scroll down and click Rules to open the section. From there, select Vacation notice.
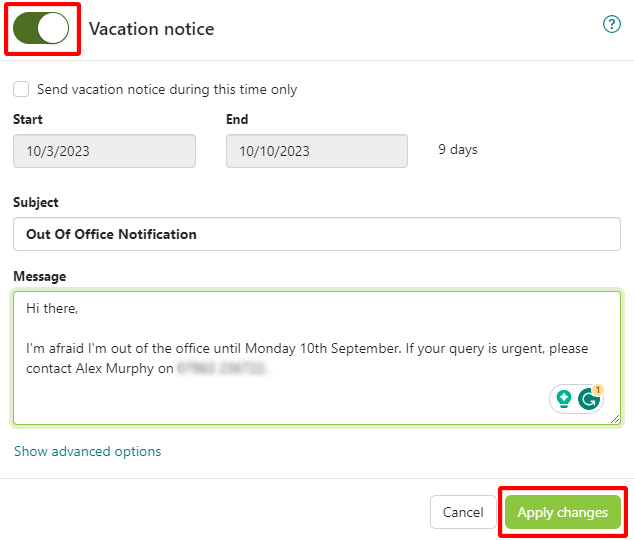
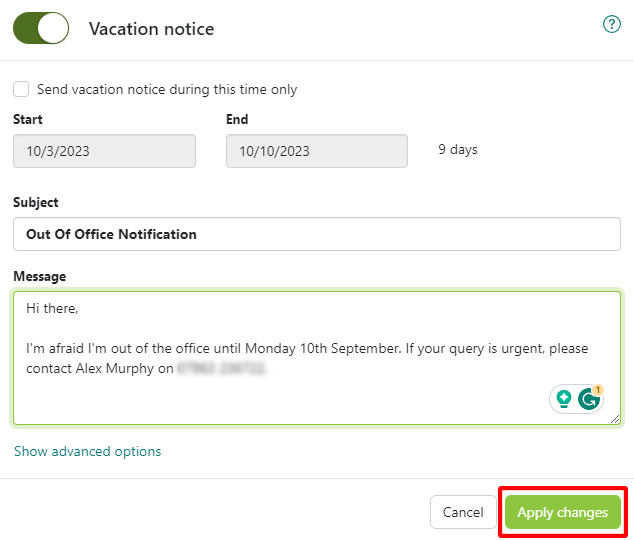
A pop-up window will now appear where you can enable your vacation notice.
Click the toggle to enable it and then choose which dates you want your notice to be active for. Enter a suitable subject line and message.
Once you’re done, click Apply changes.
How do I edit an auto responder?
- Start by accessing your webmail.
- Click the Settings icon and choose All Settings... from the provided options.

- A pop-up window will now appear. Select E-mail from the left-hand menu.
- Scroll down and click Rules. From there, select Vacation notice.
- A pop-up window will now appear with your vacation notice. The toggle switch should already be enabled, so you just need to make the necessary changes and then click Apply changes to save them.
How do I delete an auto responder?
- Start by accessing your webmail.

- Click the Settings icon in the top-right corner (represented by the gear icon) and then choose All Settings… from the provided options.

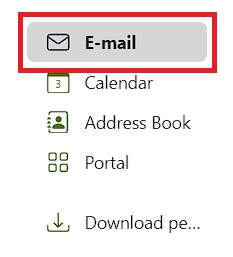
- A pop-up window will now appear. Select E-mail from the left-hand menu.
- Scroll down and click Rules to open the section. From there, select Vacation notice.
- A pop-up window will now appear with your vacation notice. Simply click the toggle switch to turn off your vacation notice and then click Apply changes to save this.
