
How do I add my mailbox to a third-party email client?
This article will show you how to add your 123 Reg professional email address to various email clients.
Simply click on a title below to skip to the most appropriate FAQ. You can also click the Back to top button to return and make another selection.
- How do I add my mailbox to Microsoft Outlook?
- How do I add my mailbox to Apple Mail?
- How do I add my mailbox to Windows 10 Mail?
- How do I add my mailbox to Mozilla Thunderbird?
- How do I add my mailbox to Gmail?
How do I add my mailbox to Microsoft Outlook?
The following steps will show you how to set up your email with Microsoft Outlook.
The instructions outlined below apply to Outlook 2013, 2016, 2019, and 2021.
If using MacOS
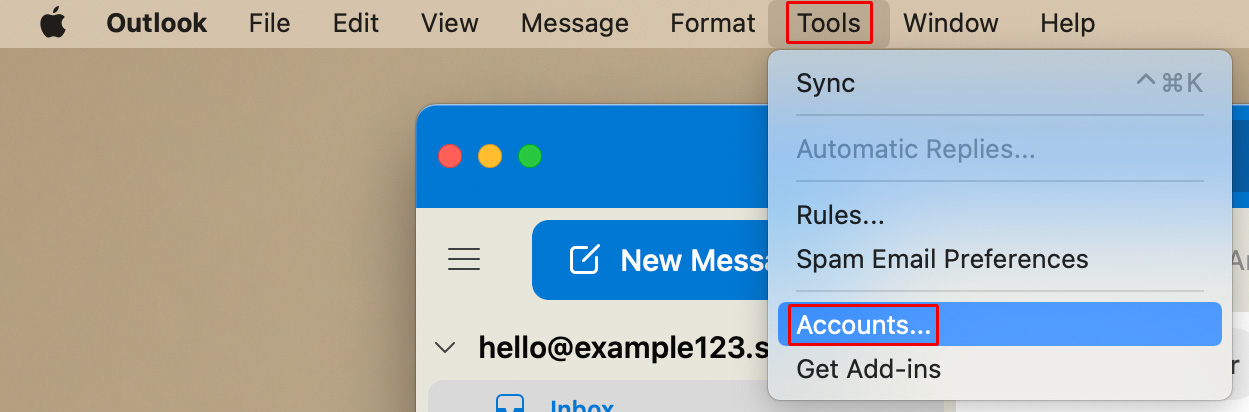
- Start by opening Outlook.
From there, select Tools, followed by Accounts.
If, however, this is your first time using Outlook, you’ll be taken to the Set Up Your Email page instead where you can begin setting up your account. If you see this page, skip to step 4.
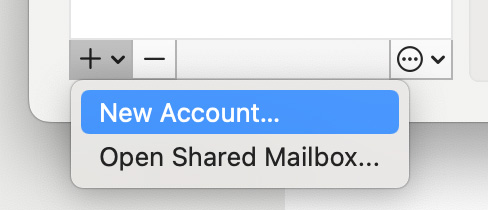
- A pop-up window will now appear showing a list of your mailbox accounts. From here, click the + icon in the bottom-left corner and choose New Account... from the drop-down menu that appears.
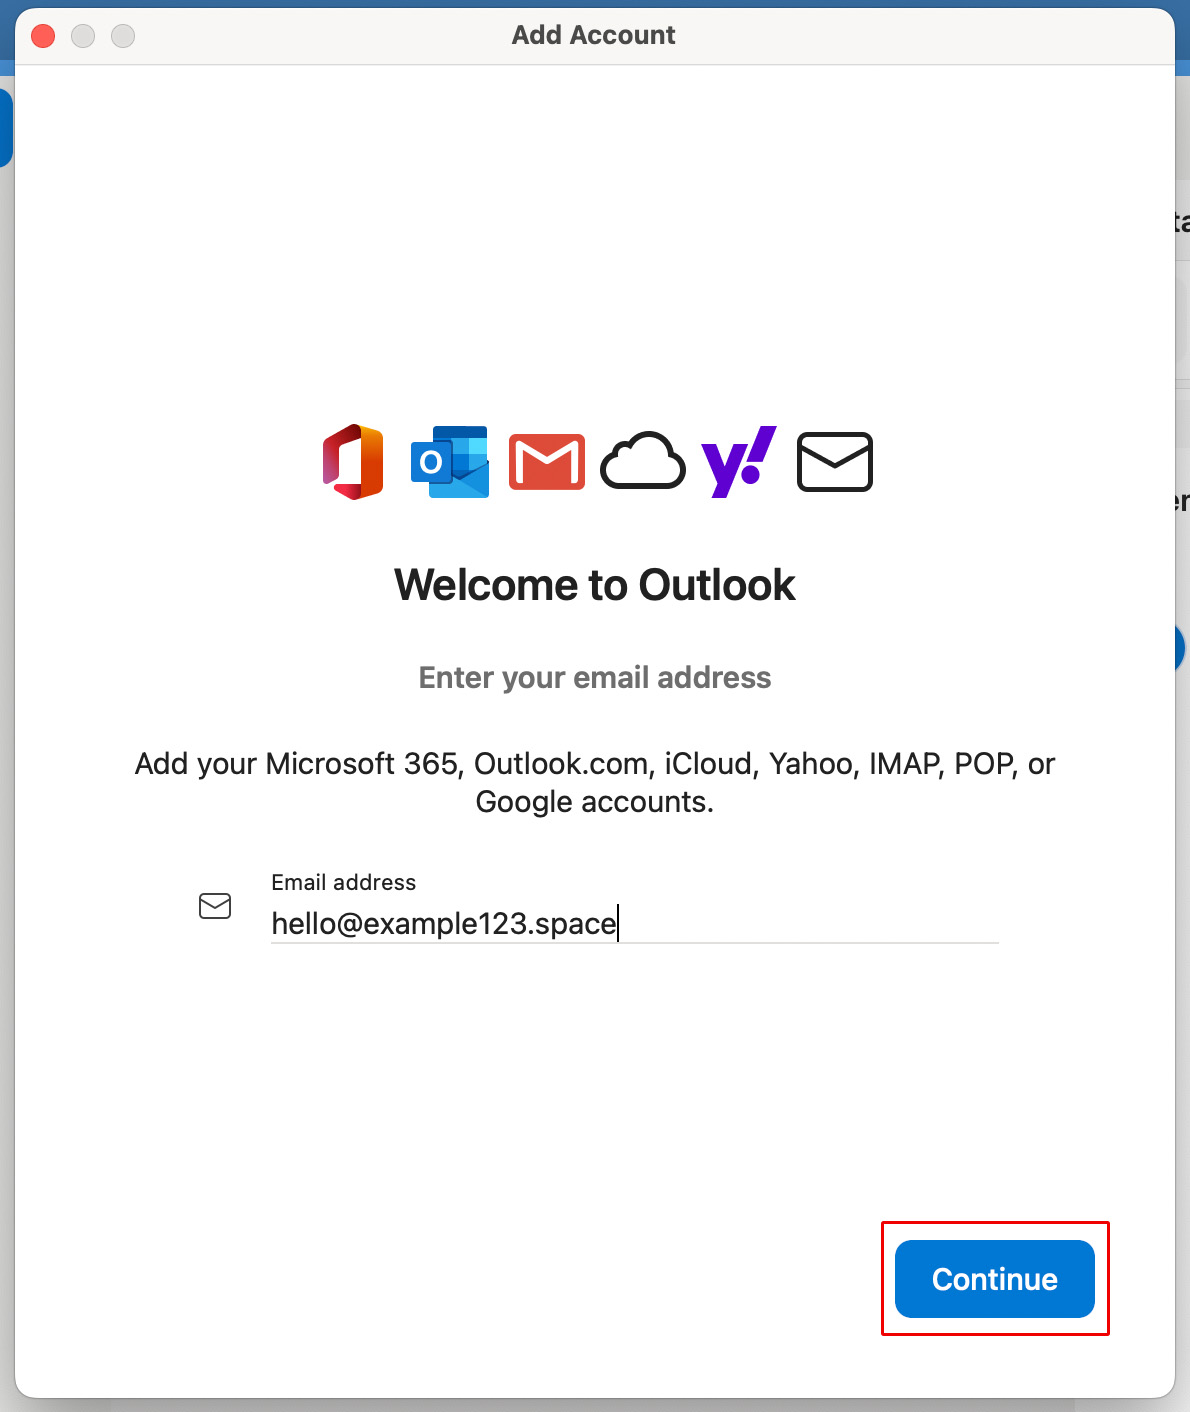
- Enter your email address into the provided field and then select Continue.
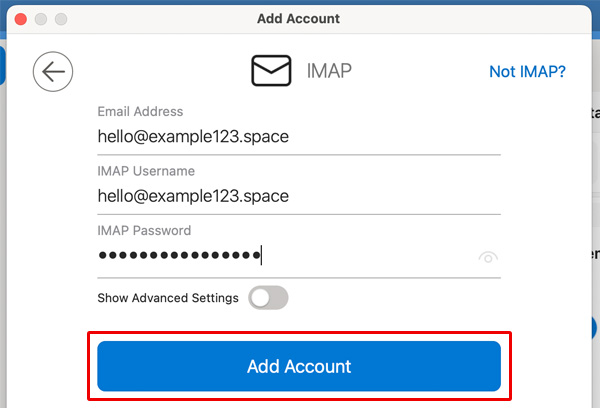
You will then be asked to enter the password for your mailbox into the provided field. If prompted, select IMAP from the Type drop-down menu.
If Outlook hasn’t already done so, you may need to enter the following details into the ‘Incoming server’ section:
- Server: imap.secureserver.net
- Port: 993
- Encryption: SSL/TLS
Similarly, enter the following details into the ‘Outgoing server’ section:
- Server: smtpout.secureserver.net
- Port: 465 (25 OR 587 for SSL off)
- Encryption: SSL/TLS
Once you’ve done all this, select Add Account.
Note: If your account uses two-factor authentification, you may need an app-specific password.
- You will now be informed that your account is being set up. Select Continue to move to the next step.

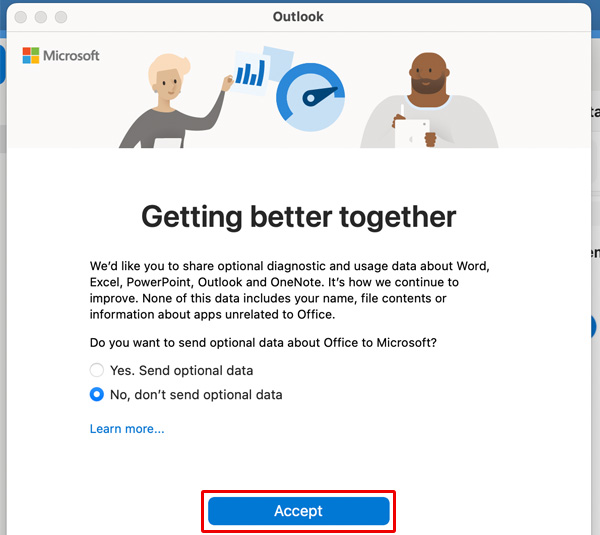
- On the next couple of pages, you’ll need to set your preferences for your diagnostic preferences. Once done, click Accept.
- After a few moments, your email account will now be added. Select Personalise Now to view your inbox and start sending/receiving emails.
If using Windows
We recommend that you check whether your email client can automatically configure your mailbox. If this is not possible, please follow the steps below to manually set up your email account.
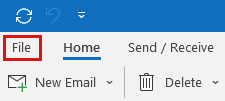
- Start by opening Outlook.
From there, select File in the top toolbar.
If, however, this your first time using Outlook, you’ll be shown a welcome screen instead where you can begin setting up your account. If you see this page, skip to step 4.
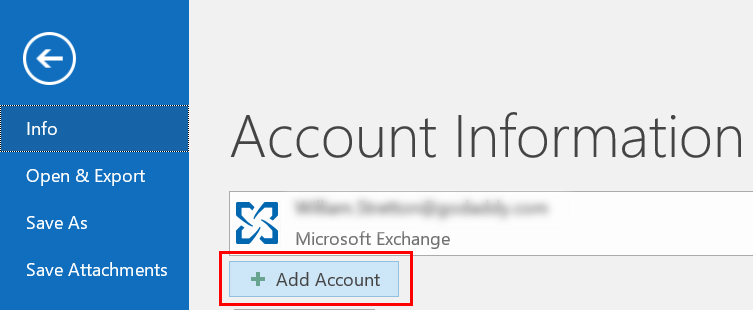
- On the next page, click Add Account.
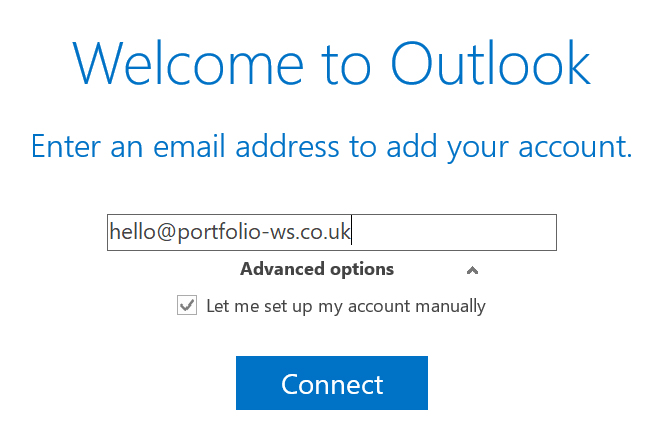
Enter the email address you wish to add and click the Advanced options heading.
Next, select the option Let me set up my account manually and then click Connect.
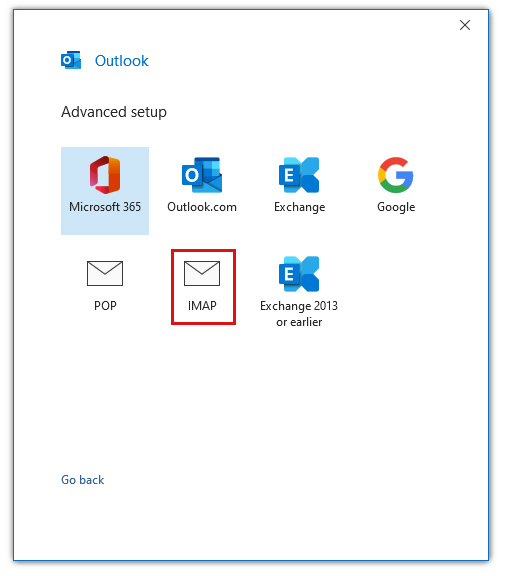
- On the next page, choose the option IMAP.
- If your client asks you to enter details for ‘Incoming mail’, you’ll need to submit the following details:
- Server: imap.secureserver.net
- Port: 993
- Encryption method: SSL/TLS

- Similarly, you’ll need to enter the following details into ‘Outgoing mail’:
- Server: smtpout.secureserver.net
- Port: 465 (or 587 for STARTTLS)
- Encryption method: SSL/TLS
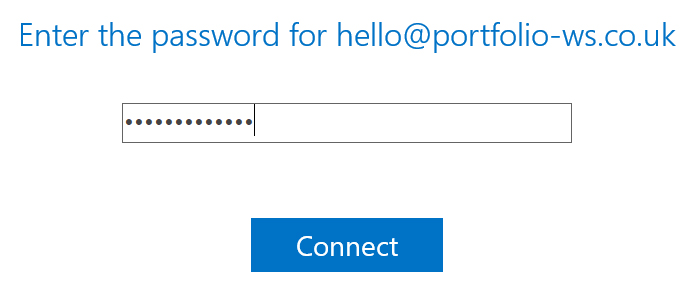
- On the next page, enter the password for your email address into the provided field and then click Connect.
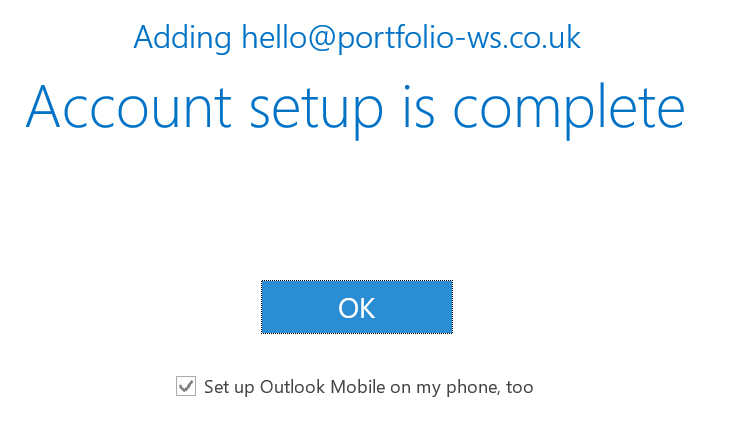
- Your email account has now been added. Select OK to view your inbox and start sending/receiving emails.
How do I add my mailbox to Apple Mail?
Via download
You can add your mailbox to your Apple Mail by downloading the email configuration to your client. Simply follow the steps outlined below to get started:
- Start by accessing your Webmail.
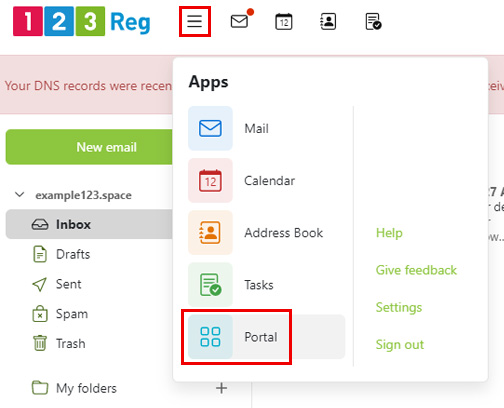
- Click the Apps icon in the top-left corner and then choose Portal from the provided options.
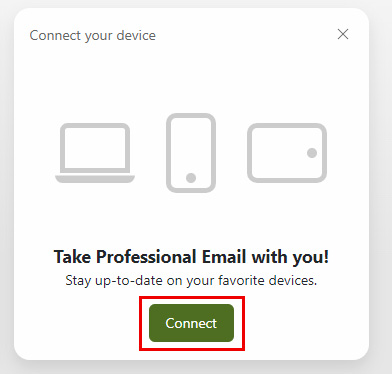
- On the Apps page, select Connect within the 'Connect your device' box.
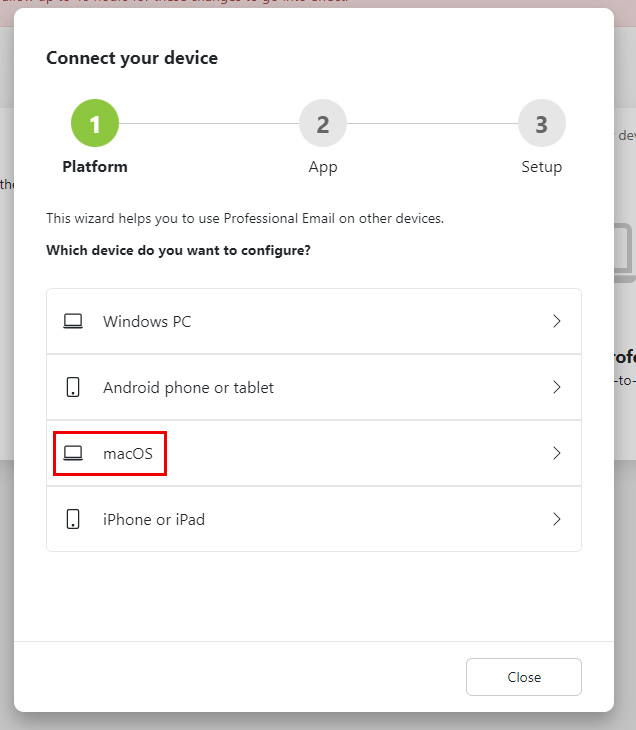
- A pop-up window will now appear. From here, select macOS from the list of platforms.
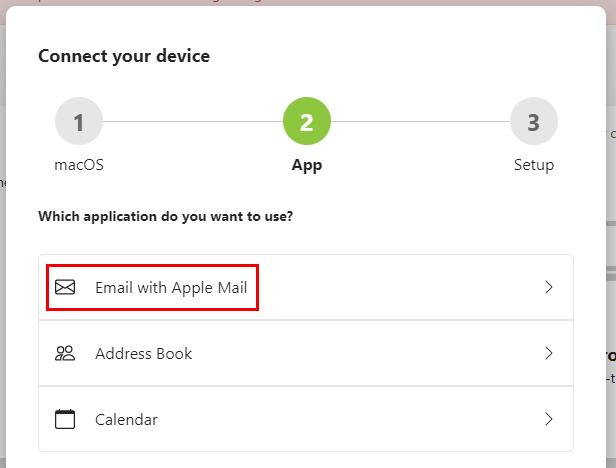
- On the next page, choose the option Email with Apple Mail.
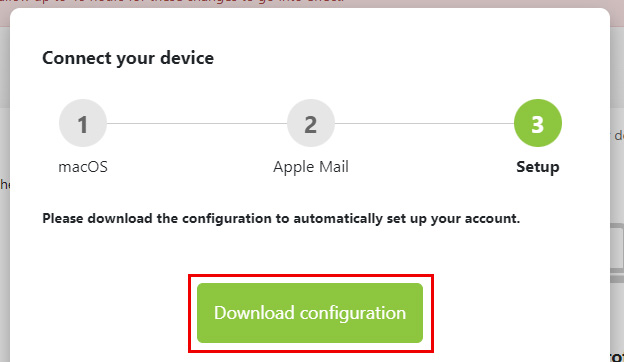
- You will now need to download the configuration by clicking the provided button.
Note: Most versions of Apple Mail now allow you to manually add accounts without downloading a configuration file, which is often simpler.
If this process doesn’t work for you, then you will need to follow the manual process outlined below instead.
Via manual configuration
- Start by opening Apple Mail.
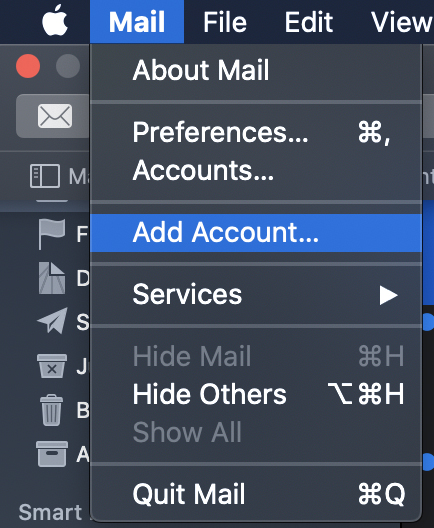
- From there, click Mail in the top-left corner and then select Add Account… from the drop-down menu that appears.
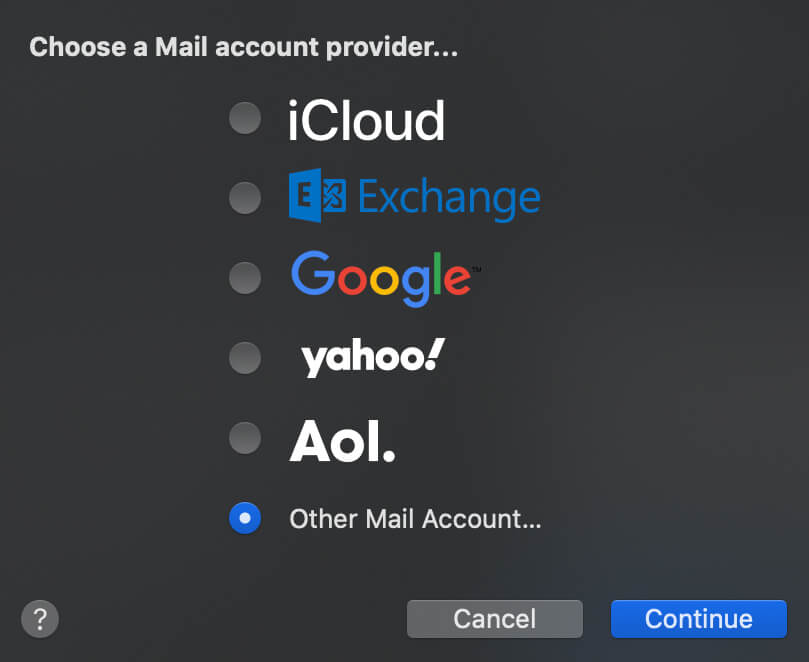
- On the next page, select Other Mail Account… from the list and then click Continue.
- Enter your name, the email address you wish to add, as well as the password for your mailbox into the provided fields. Once done, click Sign In.
- Several new fields will now appear below. Simply enter the following details:
- Account Type: IMAP
- Incoming Mail Server: imap.secureserver.net
- Outgoing Mail Server: smtpout.secureserver.net
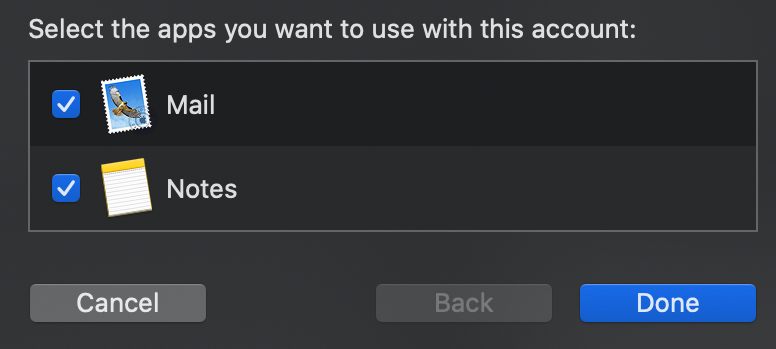
- Next, select which apps you want to import into your account by selecting the tickbox that appears alongside each option, and then click Done.
- Congratulations, you’ve successfully set up your email with Apple Mail!
How do I add my mailbox to Windows 10 Mail?
The following steps will help you with installing email on Windows 10 Mail.
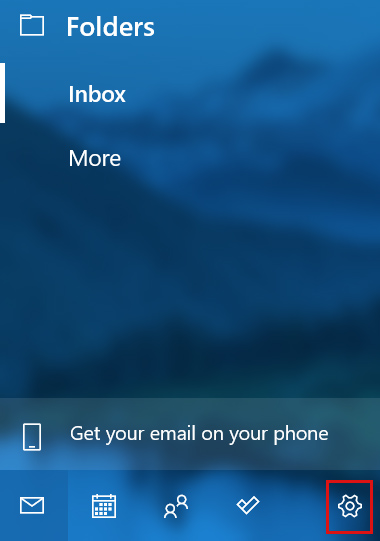
- Start by opening Windows 10 Mail.
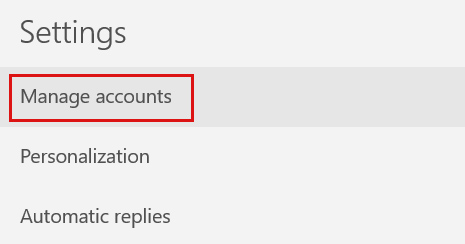
- From there, select Settings (represented by the gear icon).
If, however, this your first time using Windows 10 Mail, you’ll be shown a welcome screen instead where you can begin setting up your account. If you see this, skip to step 5.
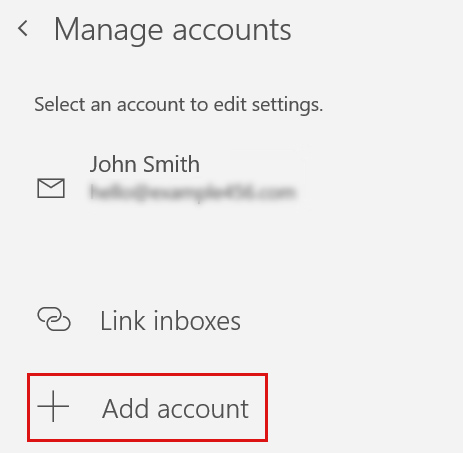
- From here, click Manage Accounts from the menu that appears.
- Next, select Add account.
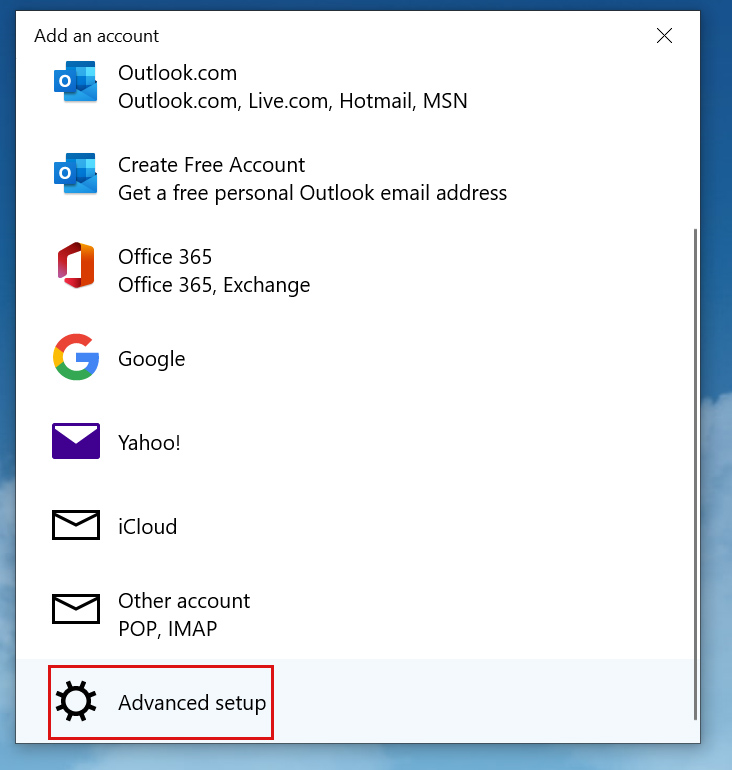
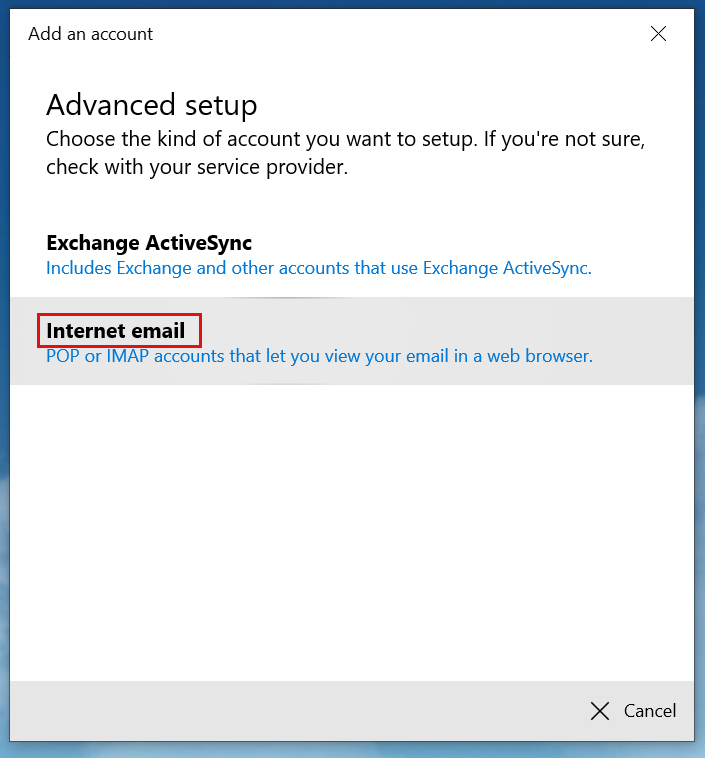
- A pop-up window will now appear with a list of options. Select the option Advanced setup.
- Next, click the option Internet email.
- On the next page, enter the following details into the provided fields:
- Email address: your email address
- User name: your email address
- Password: your mailbox password
- Account name: your email address
- Send your messages using this name: your full name
- Incoming email server: imap.secureserver.net
- Account type: IMAP
- Outgoing (SMTP) email server: smtpout.secureserver.net
- Outgoing (SMTP) email server: smtpout.secureserver.net
- o Port: 465 (SSL/TLS) – use 587 if your client requires STARTTLS
Ensure that all four tickboxes below these fields are ticked. Once done, click Sign in to continue.

- Congratulations, you’ve successfully set up your email with Windows 10 Mail!
How do I add my mailbox to Mozilla Thunderbird?
The following steps will show you how to set up your mailbox with Mozilla Thunderbird.
- Start by opening Mozilla Thunderbird.
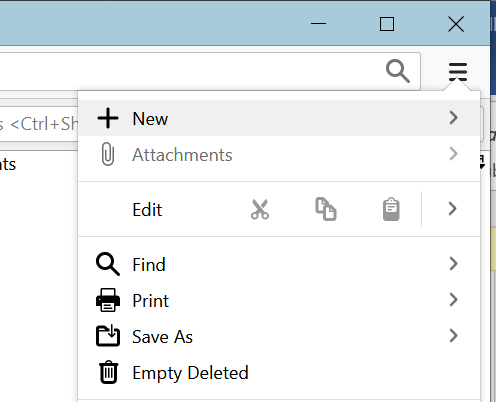
- From there, select Menu in the top right-hand corner (represented by the 3-bar icon) and then choose New from the drop-down menu that appears.
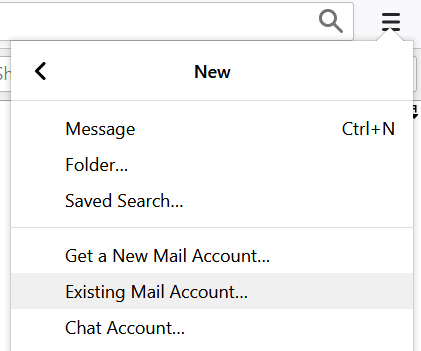
- On the next menu, select the option Existing Mail Account.
- A pop-up window will now appear asking for your details. Simply enter your name, the email address you wish to add as well as the password for your mailbox into the provided fields.
Be sure to tick the option Remember password as well. Once done, click Continue.
Please note: Thunderbird will now attempt to set up your email. This will fail but don’t worry, we will enter the settings manually now.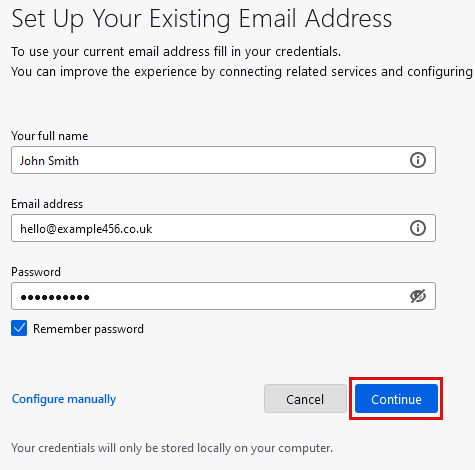
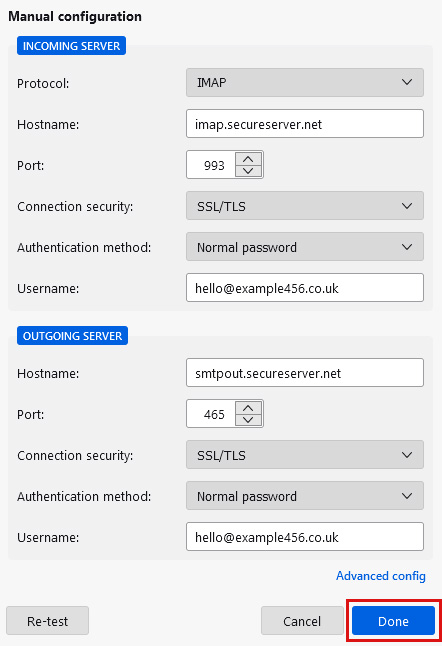
- Several new fields will now appear below. If you are using IMAP settings, enter the following details into the Incoming server section:
- Type: IMAP
- Server hostname: imap.secureserver.net
- Port: 993
- SSL: SSL/TLS
- Authentication: Normal password
If, however, you would rather keep your folders and emails on one computer, please enter the following Thunderbird POP3 settings into the Incoming server section:
- Type: POP3
- Server hostname: pop.secureserver.net
- Port: 995
- SSL: SSL/TLS
- Authentication: Normal password
- For the Outgoing server, enter the following details:
- Type: SMTP
- Server hostname: smtpout.secureserver.net
- Port: 465 (or 587 for STARTTLS)
- SSL: SSL/TLS
- Authentication: Normal password
- Congratulations, you’ve successfully set up your email with Mozilla Thunderbird! You’re now ready to start sending and receiving emails.
How do I add my mailbox to Gmail?
The following steps will show you how to set up your mailbox with Gmail.
- Start by logging in to your Gmail account.
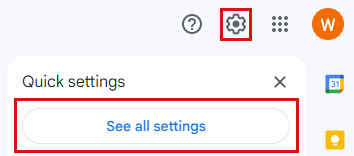
- From there, select the Settings (gear icon) in the top right-hand corner, then click See all settings from the menu that appears.
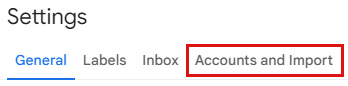
- On the next page, select Accounts and Import within the toolbar.
- From there, choose Add a mail account opposite the option ‘Check mail from other accounts’.

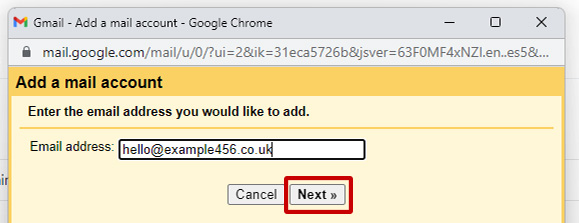
- A pop-up window will now appear. Enter your email address into the provided field and click Next.
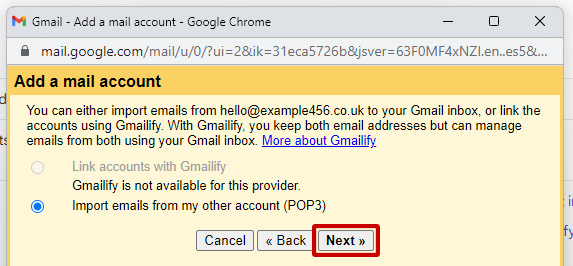
- You will now need to decide how you want to import your emails by selecting the relevant option. Choose Import emails from my other account (POP3) and click next.
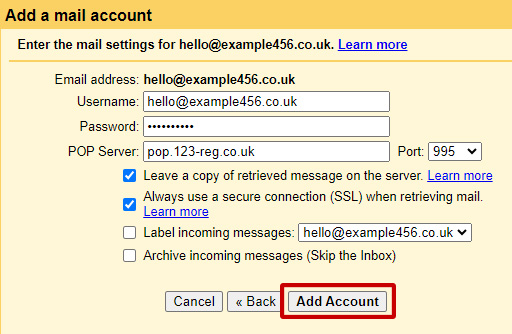
- On the next screen, enter the following details:
- Username: your email address
- Password: your password
- POP Server: pop.secureserver.net
- Port: 995
- Always use a secure connection (SSL) when retrieving mail
- Leave a copy of retrieved message on the server.
Once done, click Add Account to complete the process.
Note: Gmail’s POP import will retrieve your emails but won’t sync folders or sent items. If your account uses two-factor authentication, you may need an app-specific password.
- After a few moments, your account will be added and ready to receive emails in Gmail.