
Setting up Mobile Email Clients
This article will show you how to add your mailbox to email clients on mobile devices, including iOS and Android.
Simply click on a title below to skip to the most appropriate FAQ. You can also click the Top button to return and make another selection.
- How to add your mailbox to Mail on iPhone or iPad devices
- How to add your mailbox to Gmail on iPhone or iPad devices
- How to add your mailbox to Outlook on iPhone or iPad devices
- How to add your mailbox to Samsung Email on Android devices
- How to add your mailbox to Gmail on Android devices
- How to add your mailbox to Outlook on Android devices
How to add your mailbox to Mail on iPhone or iPad devices
Via QR code
You can add your mailbox to your iPhone or iPad device by scanning a QR code. Simply follow the steps outlined below to get started:
- Start by accessing your webmail.
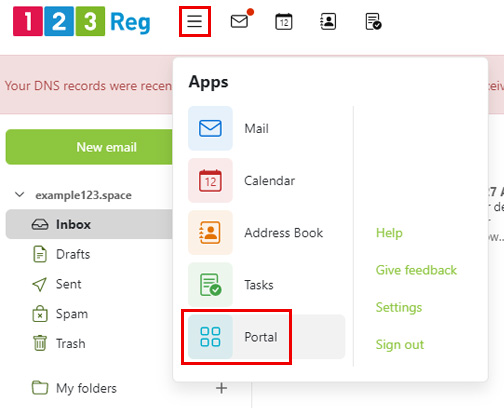
- Click the Apps icon in the top-left corner and then choose Portal from the provided options.
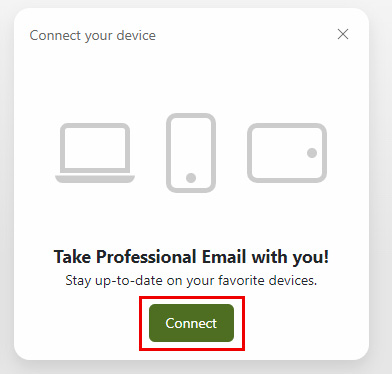
- On the Apps page, select Connect within the Connect your device box.
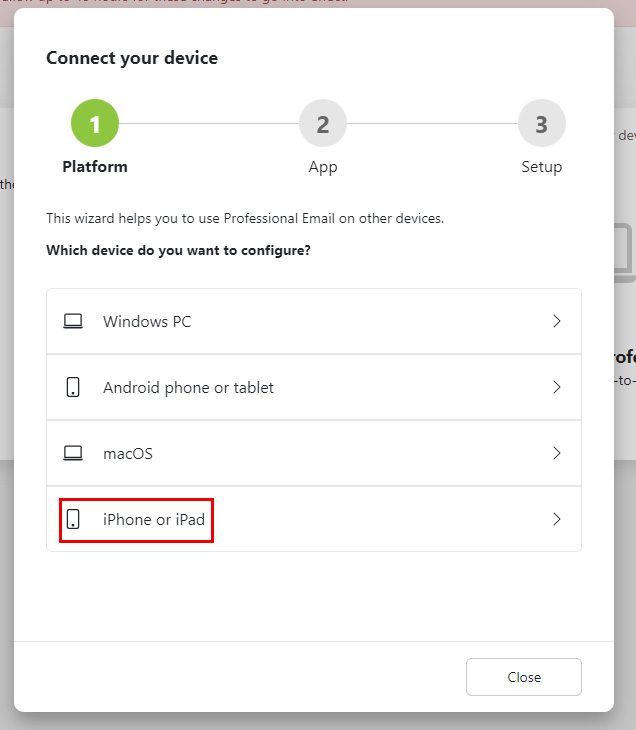
- A pop-up window will now appear. From here, select iPhone or iPad from the list of platforms.
- On the next page, choose the option Email with iOS Mail
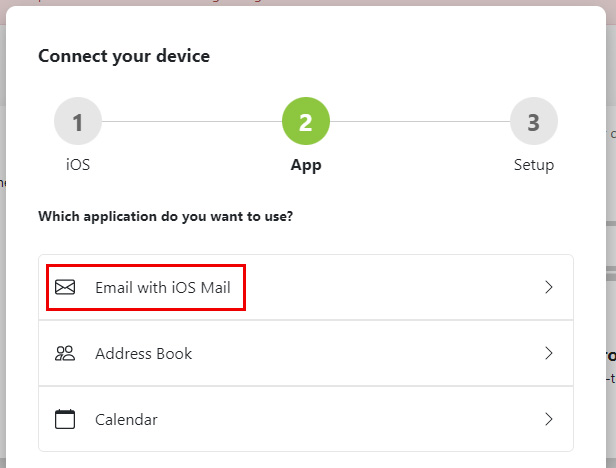
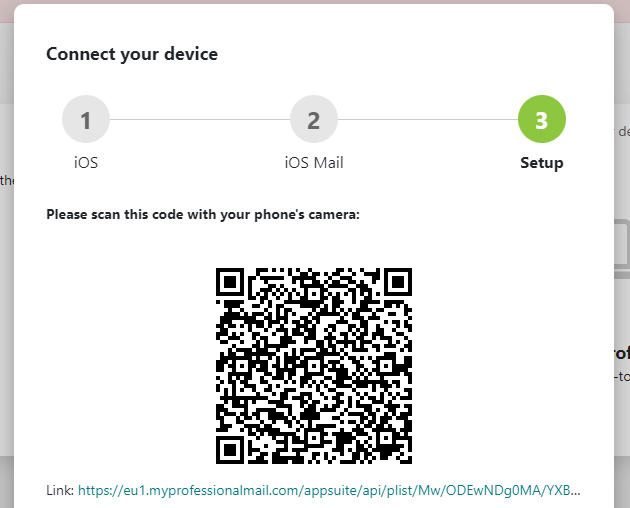
- You will now be given a QR code, which you will need to scan using a dedicated app.
If this process doesn’t work for you, then you will need to follow the manual process outlined below instead.
Via manual configuration
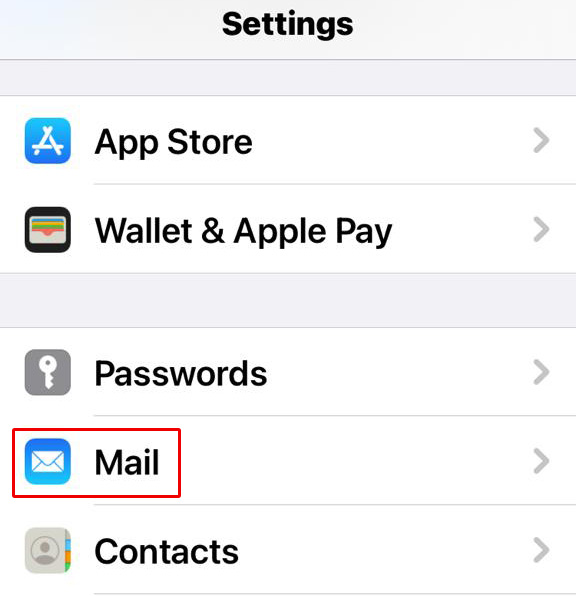
- Tap on the Settings icon on your mobile device.
- On the page that appears, select Mail.
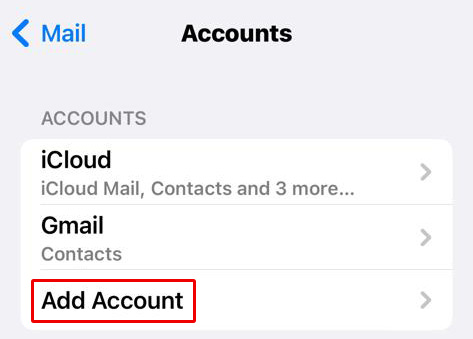
- Next, select Accounts. Depending on your iOS version, you’ll need to select Passwords & Accounts instead.

- On the next page, select Add Account.
- Choose Other from the list of options.
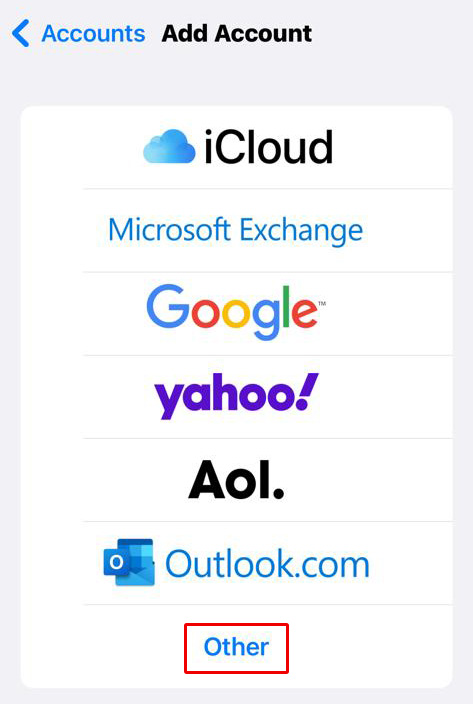
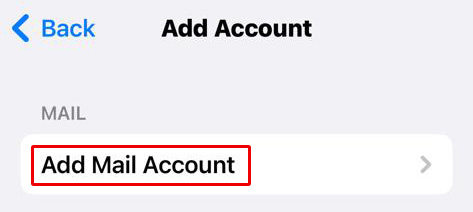
- Next, select Add Mail Account.
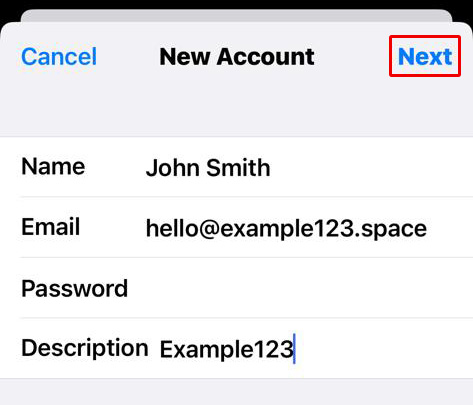
Enter your name, email address, and password into the provided fields. You can also enter a description to help you identify the mailbox later.
Once you’ve done this, select Next.
- Select IMAP from the two options. Enter the following details into the Incoming Mail Server section:
- Host Name: imap.secureserver.net
- Username: your email address
- Password: your email address’ password
- Once you’ve done this, enter the following details in the Outgoing Mail Server section:
- Host Name: smtpout.secureserver.net
- Username: your email address
- Password: your email address’ password
- On the next page, you’ll be asked whether you want to import your mail and notes. Leave both boxes ticked and select Save.

How to add your mailbox to Gmail on iPhone or iPad devices
- Start by opening the Gmail app on your device.
If you haven’t set up a Gmail account before, select Sign In.
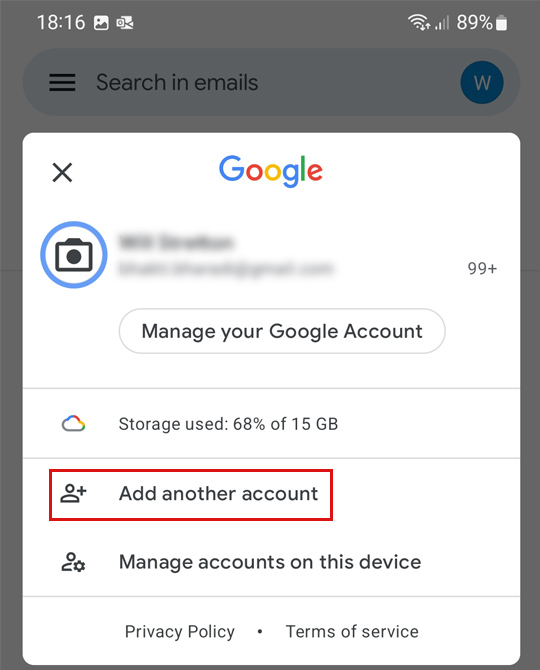
Otherwise, select your Profile icon and then choose Add another account.
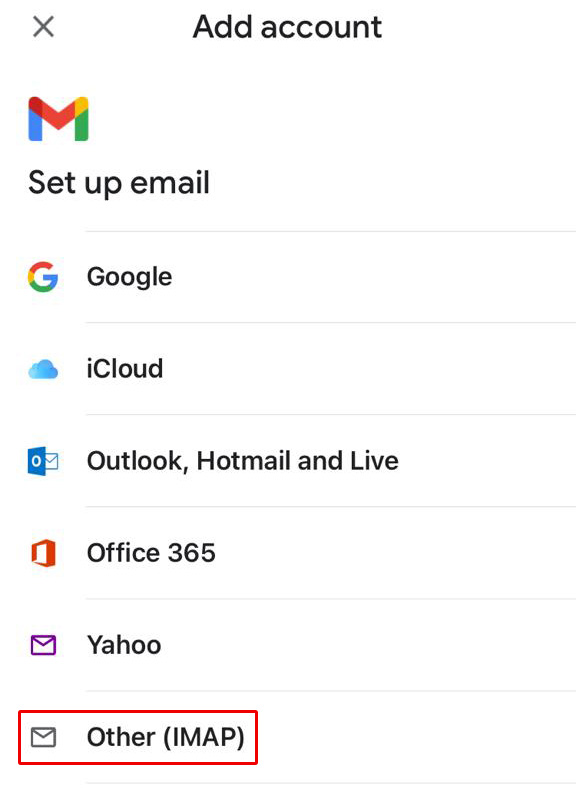
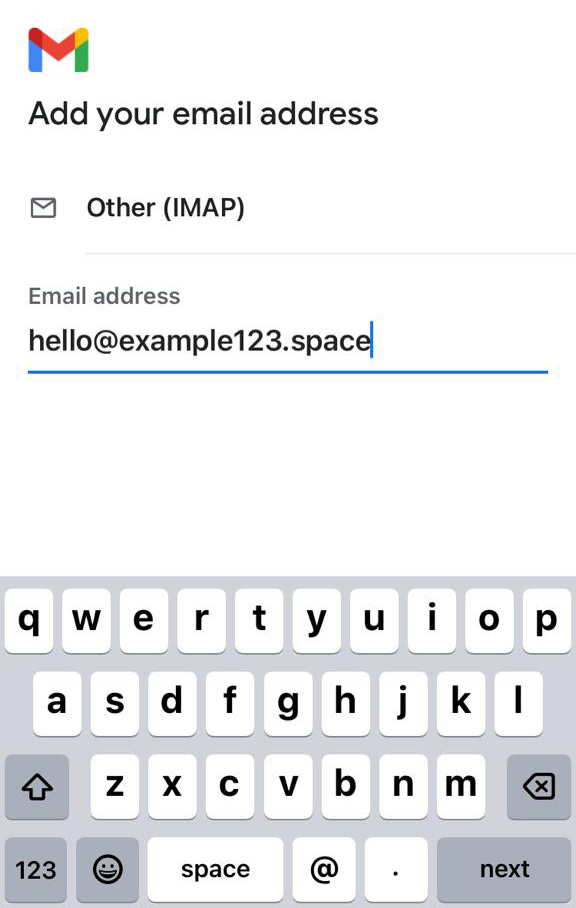
- Choose Other (IMAP) from the list of options.
- Enter your email address into the provided field and select Next.
- Enter the following details into the 'Incoming server settings’ section:
- Username: your email address
- Password: your email address’ password
- IMAP Server: imap.secureserver.net
- Port: 993
- Security Type: SSL/TLS
- Enter the following details into the ‘Outgoing server settings’ section:
- Username: your email address
- Password: your email address’ password
- SMTP Server: smtpout.secureserver.net
- Port: 465
- Security Type: SSL/TLS
- Enter the name that you’d like to be displayed on your sent messages. Once done, select Next.

- Congratulations, you’ve set up your account within Gmail!
How to add your mailbox to Outlook on iPhone or iPad devices
- Start by opening the Outlook app on your device.
If you haven’t set up an Outlook account before, enter your email address into the provided field and select Add Account. From there, continue to step 6.
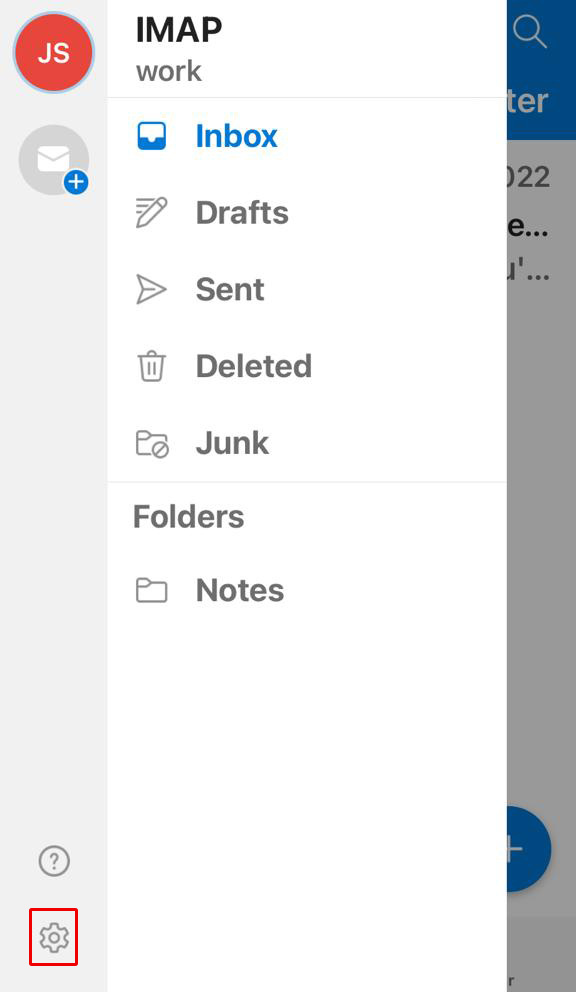
If, however, you have set up an Outlook account before, select the Menu icon.
- Choose Settings from the menu that appears, represented by the gear icon.
- On the next page, select Add Mail Account.
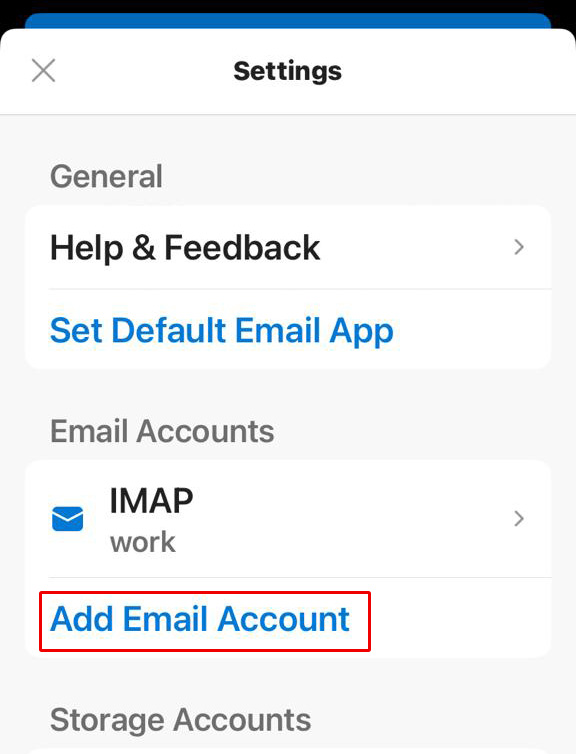
- You will now be shown a list of options. Choose Add Email Account.
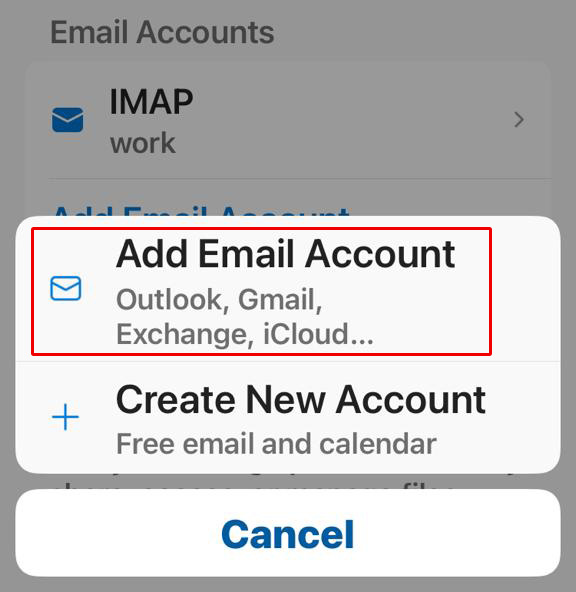
- Enter your email address into the provided field and then select Add Account.
- Enter the following details into the provided fields:
- Password: your email address’ password
- Display Name: your brand name or full name
- Description: a brief summary to help you identify your mailbox
Your mailbox will now begin to load content. Send yourself a test email to make sure your email address is working correctly.
If you don’t receive anything, try toggling to Other.

How to add your mailbox to Samsung Email on Android devices
We recommend that you check whether your email client can automatically configure your mailbox. If this is not possible, please follow the steps below to manually set up your email account.
- Start by opening the Email app on your device.
If you haven’t set up an account before, proceed to step 3.
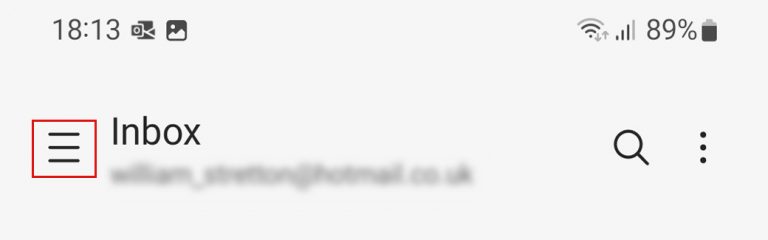
Otherwise, select the Menu icon alongside Inbox.
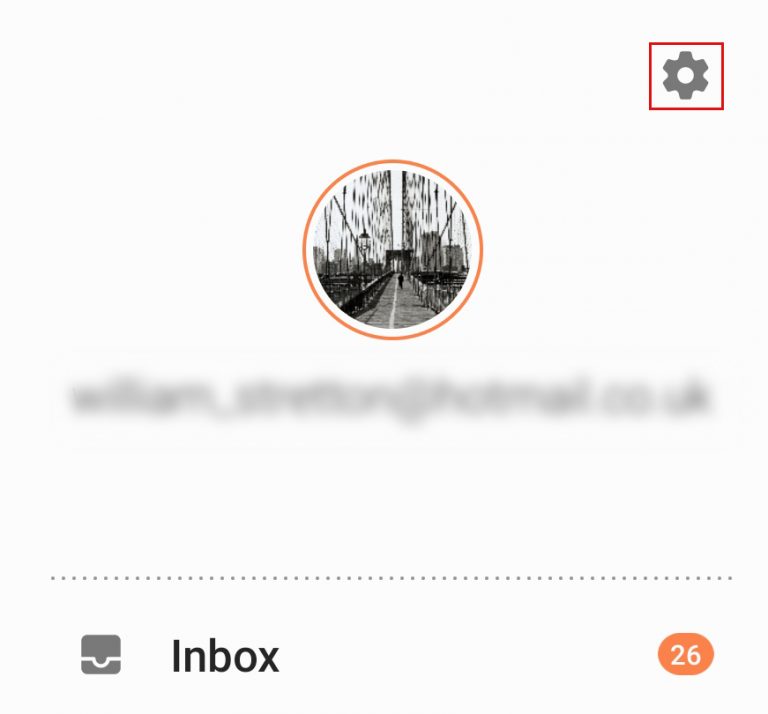
- From there, select Settings from the menu that appears, represented by the gear icon.
- On the next page, choose Add account.
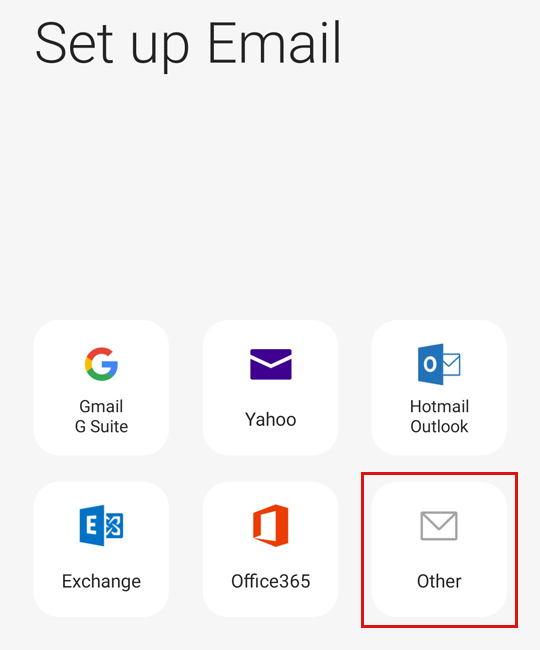
- On the next page, select Other from the list of options.
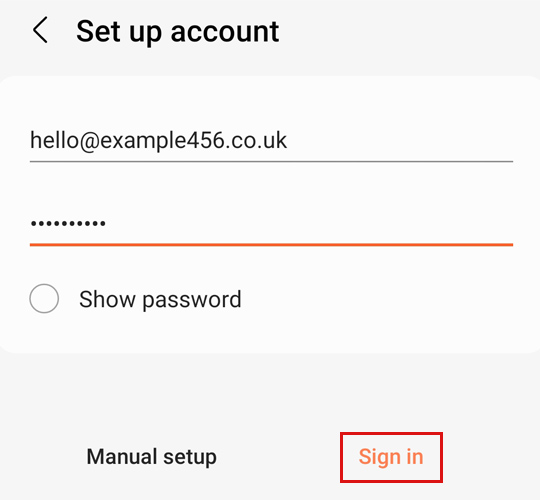
- Enter your email address and password into the provided fields. Once done, click Sign in.
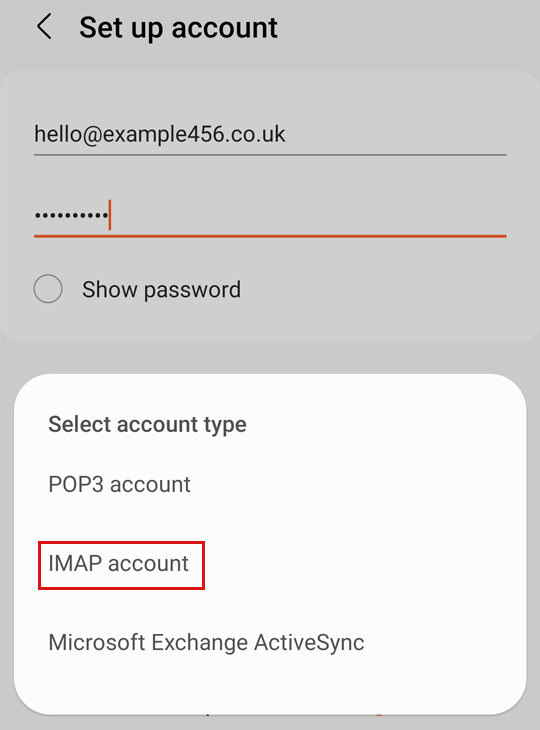
- A pop-up window will now appear asking you to select your account type. Choose IMAP account.
- Enter the following details into the provided fields:
- Account
- Email address: your email address
- Username: your email address
- Password: your email address’ password
- Incoming server
- IMAP server: imap.secureserver.net
- Security type: SSL
- Port: 993
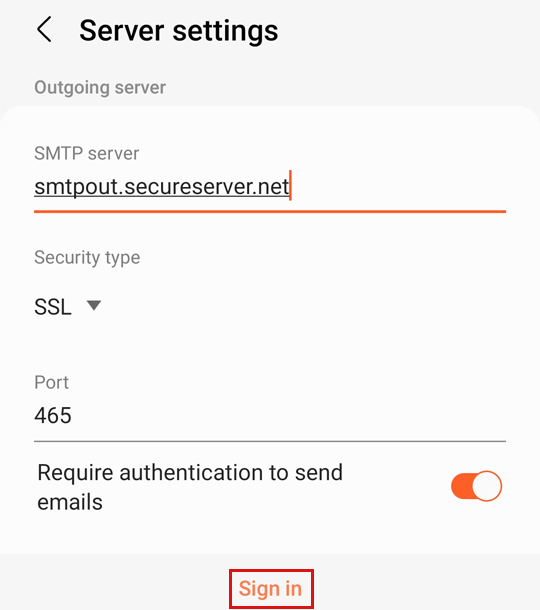
- Outgoing server
- SMTP server: smtpout.secureserver.net
- Security type: SSL
- Port: 465 (25 or 587 for SSL off)
Once you’ve entered these details, click Sign in.
- Account
- Your mailbox will now be set up and you can start sending and receiving emails.
How to add your mailbox to Gmail on Android devices
- Start by opening the Gmail app on your device.
If you haven’t set up a Gmail account before, select Sign In.
Otherwise, select your Profile icon and then choose Add another account.

- Choose Other from the list of options.

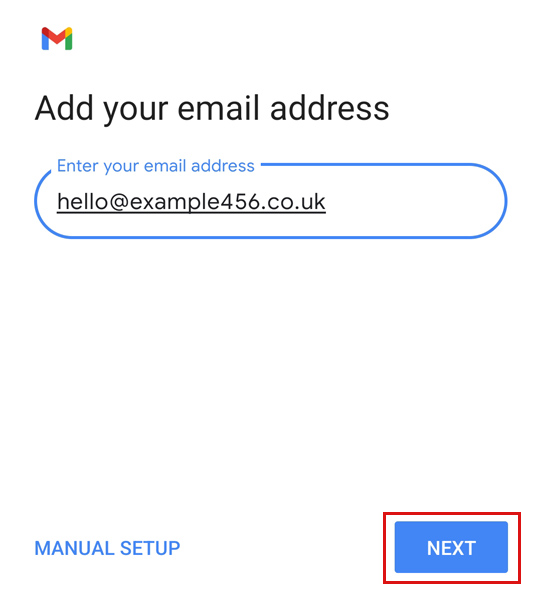
- Enter your email address into the provided field and select Next.
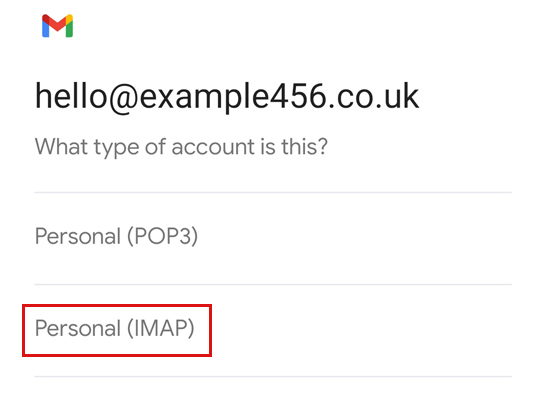
- On the next page, choose the option Personal (IMAP).
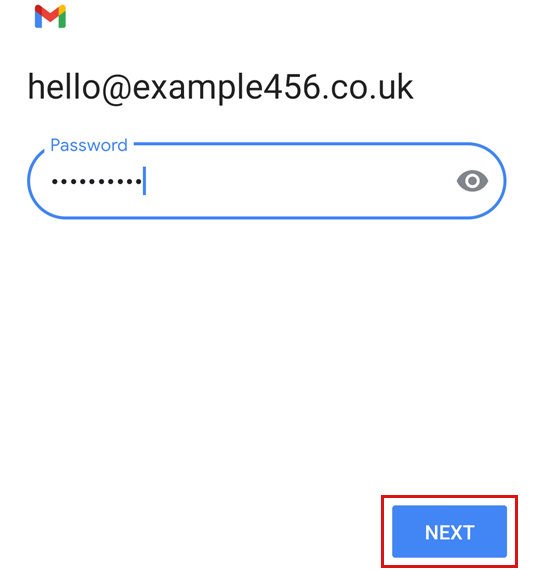
- Enter your password into the provided field and select Next.
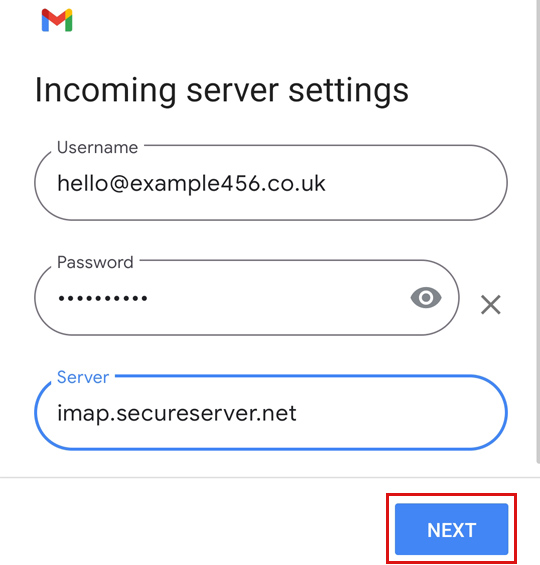
- Change the Incoming server to imap.secureserver.net and then select Next.
- Change the outgoing SMTP server to smtpout.secureserver.net and then select Next.

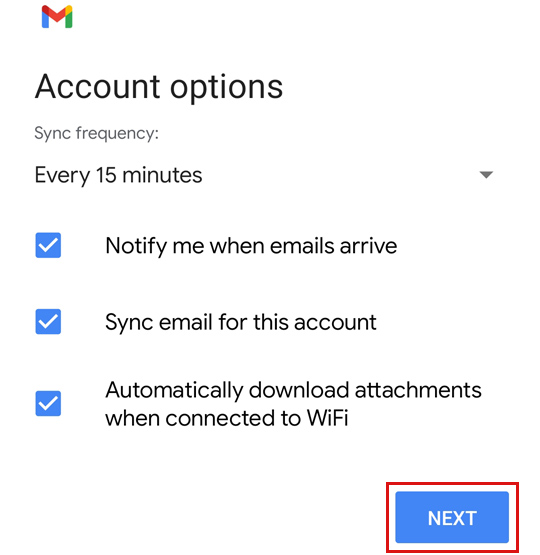
- Set your account options from the provided list and select Next.
- Enter your account name along with your full name into the provided fields. From there, click Next.
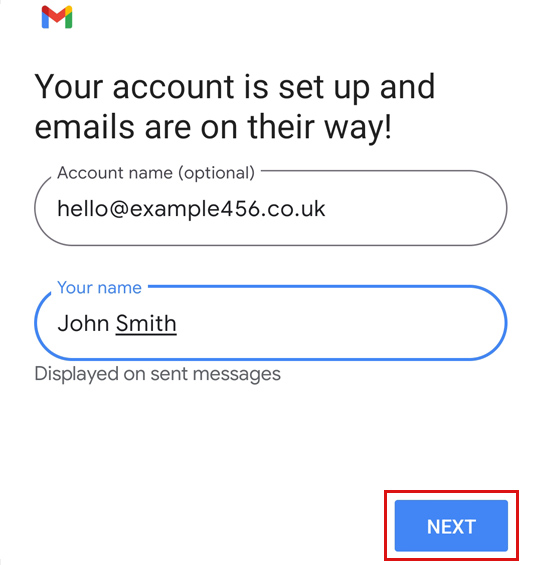
- Your mailbox will now automatically be set up and you can start sending and receiving emails.
How to add your mailbox to Outlook on Android devices
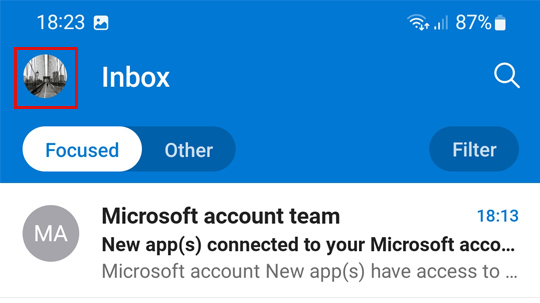
- Start by opening the Outlook app on your device.
If you haven’t set up an Outlook account before, select Get Started and then continue to step 5.
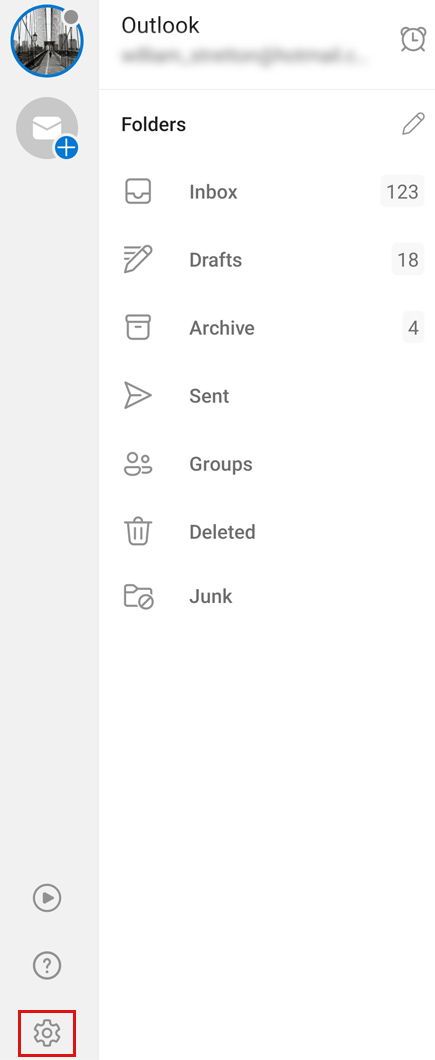
If you have set up an Outlook account before, select the Menu icon in the corner.
- Choose Settings from the list of options that appears, represented by the gear icon.
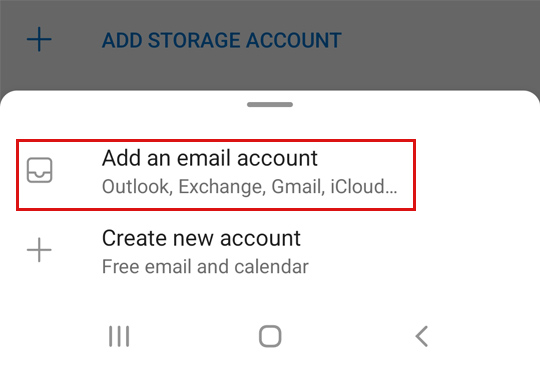
- On the next page, select Add Email Account.
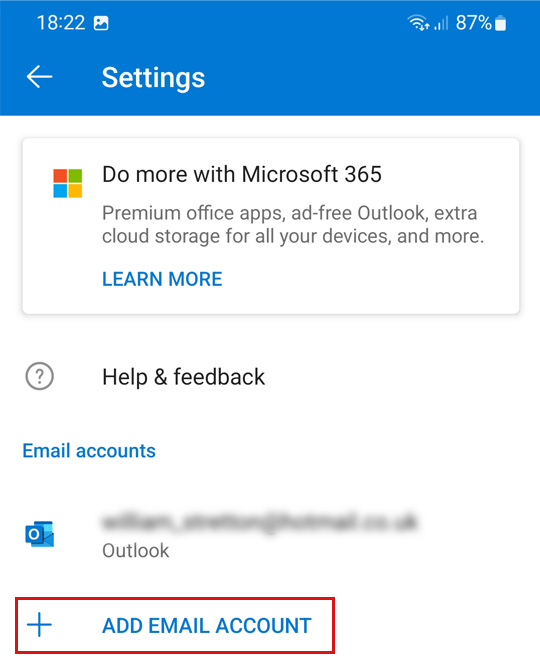
- You will now be provided with two options. Choose Add Email Account.
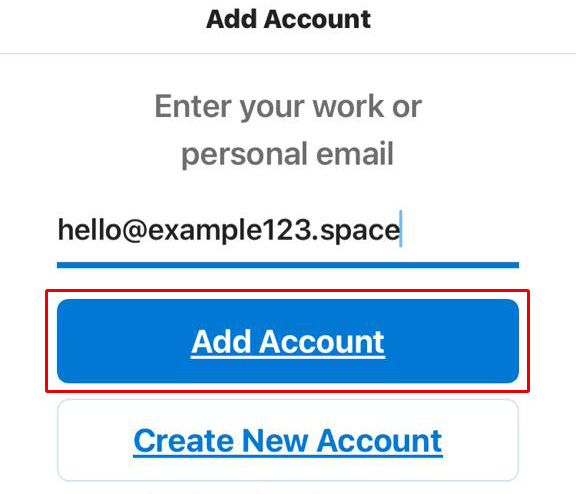
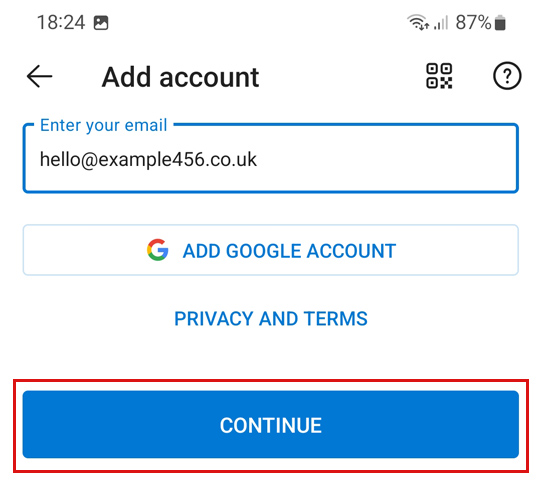
- Enter your email address into the provided field and then select Continue.
- Next, select IMAP from the list of options.
- On the next page, enter the following details into the provided fields:
- Display Name: the name you want to appear for your mailbox
- Description: a brief summary of your mailbox
IMAP Incoming Email Server
- IMAP Host Name: imap.secureserver.net
- Port: 993
- IMAP Username: your email address
- IMAP Password: your email address’ password
SMTP Outgoing Email Server
- SMTP Host Name: smtpout.secureserver.net
- Port: 465 (25 or 587 for SSL off)
- SMTP Username: your email address
- SMTP Password: your email address’ password
Once you’ve done this, select the checkmark icon.
- Congratulations, you have now added your mailbox to Outlook!