How do I install WordPress on my Hosting package?
This article will help you to install WordPress on your Web Hosting plan.
- Start by logging in to your 123 Reg Control Panel.
- From there, click Manage opposite your hosting plan within the ‘All Products and Services’ section.
- This will take you to your hosting dashboard. Select Install Application below your domain name within the 'Websites' section.
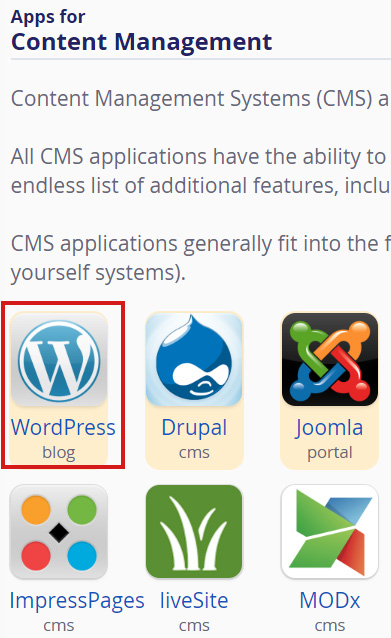
- You’ll now be taken to the Applications Browser page. From there, select WordPress Blog under the Apps for Content Management section.
- Select the + install this application option that appears to the right.

- On the next page, you’ll need to enter some details into the provided fields within the Location section. This includes the following:
- Domain: enter the domain name you want to use.
- Directory: where you want to install WordPress.
- Version: leave this as the default setting.
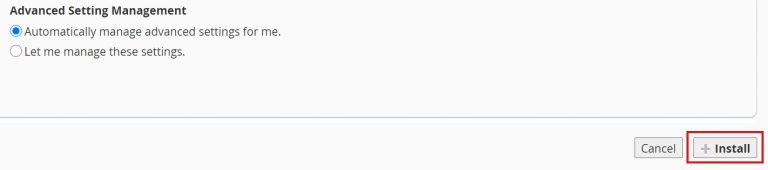
- Advanced Setting Management: we recommend changing the Administrator Username and Password to something that you can remember, as you’ll need these details to log in to your WordPress site. Be sure to change the Administrator Email to an address that you can access.

- Once done, click Install to complete the process.